Installing A Wall Mount Room Divider Is Actually Quick And Easy - Video

You’ll get a kit with the proper tools to install your wallmount room dividers. It should only take a few minutes to install.
If you are wondering if installing a Wall mount room divider is easy, here is a step by step video on how to install the brackets for a Screenflex Wallmount room divider. It only takes a few minutes to install two brackets. You will get a kit with your divider that will show you exactly where to mark off the spots for your holes on the wall. Just mark your spots then take a drill and drill 4 holes into the wall. Do not drill into studs behind your drywall. You will want to use a screw and toggle. As you can see, installing a wall mount room divider is quite simple.
Video Transcript:
This video will show you the easy steps to take to mount a Wallmount room divider to a wall. It’s important to note that our freestanding room dividers need no mounting at all this video is only for the Wallmount room divider.

Using a screw and toggle you can install Wallmount Room Dividers quickly and easily!
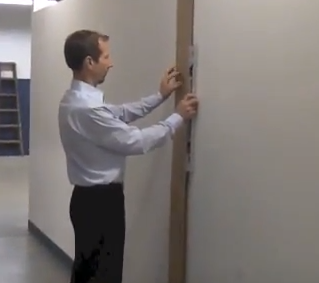
Start with the cardboard template. Make sure it is level in the position you want to mount the divider. Next, mark through the cardboard and onto the wall, four screw holes into the wall. I’m using a screw that came in the kit that indicate the points in the wall where I want to drill.
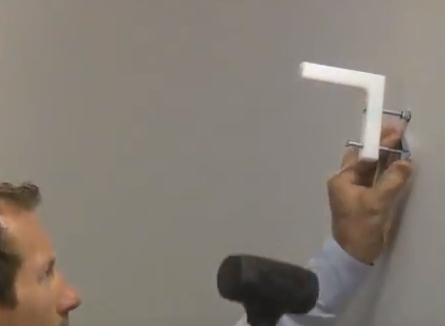
Use a 1/2 inch or 5/8 inch drill bit. Drill your four holes. As you can see, I’m not encountering a stud here. We are now going to use the toggle bolts that came in the kit. You’ll need four screws and four toggles. Put the screws through the “L” bracket. Engage the toggle at the end of the screw. Turn it down a few turns. Do the same with the next screw. Next, push the toggles through the wall. Since I used a 1/2″ drill bit, I will need to lightly tap the screws through the tight holes into the wall. You’ll now need to expand the anchors behind the wall. You can do this by hand, or with a cordless drill. I have a Philips head screwdriver bit. Hold the bracket toward you, as you start to screw the screws. The wings on the anchor will need to expand and grip the wall. Tighten the screws until the bracket becomes flush with the wall. Tighten it up so that it’s secure.

Push the pins into the bracket and your Wallmount is complete
Built to Last
It’s important to note that the divider will not hang from the bracket. The divider will just sit on the floor. The brackets will just keep the divider upright when it is attached to the wall. The second bracket goes on the same way. You’ll note from the orientation of the second bracket, that the leg goes down on the top bracket, and the leg goes up on the bottom bracket.
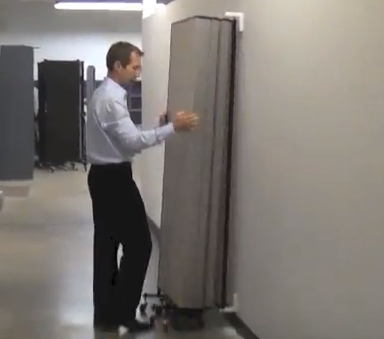
The slotted part of the bracket sticks out from the wall. That’s the part of the divider that will engage into the bracket that will stick out. Tighten this bracket down in the same manner as the top one. Once the bracket is secure to the wall. It’s now time to wheel over your divider. There’s a pin on the top and the bottom of the divider (it has a spring on it). Starting at the bottom, slide the divider pin over the notch. Drop it into position. Press the top pin, slide it into the slot at the top. The divider is now attached to the wall. Remove the plastic wrap. Your divider is now installed on the wall.
You’ll notice that this is a left mount divider a standard room divider. It mounts to the left side of the wall when folded. The right-hand divider will fold to the right-hand side.
Thank you.